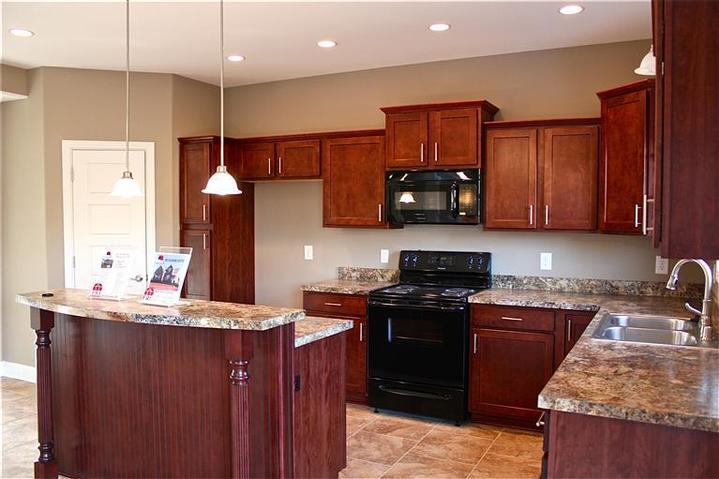
The Oakmont
| Photo 2 of 11 · View all The Oakmont · Photo Gallery | NextPrevious |
 |
|
Download Previous Image Next Image |
| Photo 2 of 11 · View all The Oakmont · Photo Gallery | NextPrevious |
|
|
|
Download Previous Image Next Image |